Showing posts with label DIY. Show all posts

Monday, August 5, 2013

Dried Hot Peppers


 I don’t know about you but it seems like September here. The weather is in the mid 80’s, the humidity has dropped along with the first set of leaves and the vegetable garden seems to be coming to an end. Even though it’s only the beginning of August, all of these are signs of September.  Now I’m not complaining because Fall is my favorite time of year. I just wasn’t ready to can. I have already put up tomatoes and this weekend I started drying the chili peppers.  Here are a few still on the vine.


Last year I found a Magic Chef Food Dehydrator at the thrift store for $10, a steal. 


Apparently, this dehydrator is no longer sold but I found enough information online and was able to figure it out.  For those interested, I have posted the instructions at the end of this post as well as a link to them here.  Enjoy!


BEFORE AND AFTER


Instructions
·         1. Wash the cover and trays of the 470 dehydrator with warm, soapy water and a sponge and allow them to dry before you use the unit.
·         2. Slice the foods you want to dry. Keep the thickness between 1/4 inch and 3/4 inch. If your food is extremely moist, you can pat it dry with paper towels to help the drying process.
·         3. Plug in the power cord. Turn on the unit at the base and preheat the dehydrator for 5 to 10 minutes before loading the trays with food.
·         4. Place your sliced food onto the trays in a single layer.
·         5. Allow the food to dry; to check to see if it is dry, remove a few pieces and cut into the middle. The outsides should be slightly crisp and the insides should be leathery but dried. Drying times vary from four to 18 hours, depending on slice thickness, the type of food and how many trays you use.
·         6. Turn off and unplug the dehydrator when the food has dried. Store food in plastic bags or storage containers and refrigerate.


 Thanks for visiting,

Monday, July 29, 2013

Paint Your Own Pottery (Cow Collection)


Here’s a little fact that I have yet to share. I used to own a contemporary pottery studio. You might have one in your neighborhood. You know, the ones that allow you to paint your own pottery. Actually, you pick a piece of bisque (pottery fired once) and paint it with colored glaze that looks just like paint. I sold the shop in 2004 and went back to work full time in my chosen profession but for three years I was the sole owner of a creative little shop known as Paint’N Pottery. The name stayed the same for a while until the second owner sold it. Twelve years, and another owner later the shop is still alive and from what I hear doing well. They moved it to another location but I still take credit for bringing this fun and creative venue into my (at the time) home town. Unfortunately I don’t have any photographs to share. They are somewhere stored away in a box that I will hopefully find one day. I do have a lot of pieces that I made and kept for myself though and thought I would share one set that I called the “Cow Collection”. I hope you enjoy.


Thanks for visiting, 

Sunday, July 28, 2013

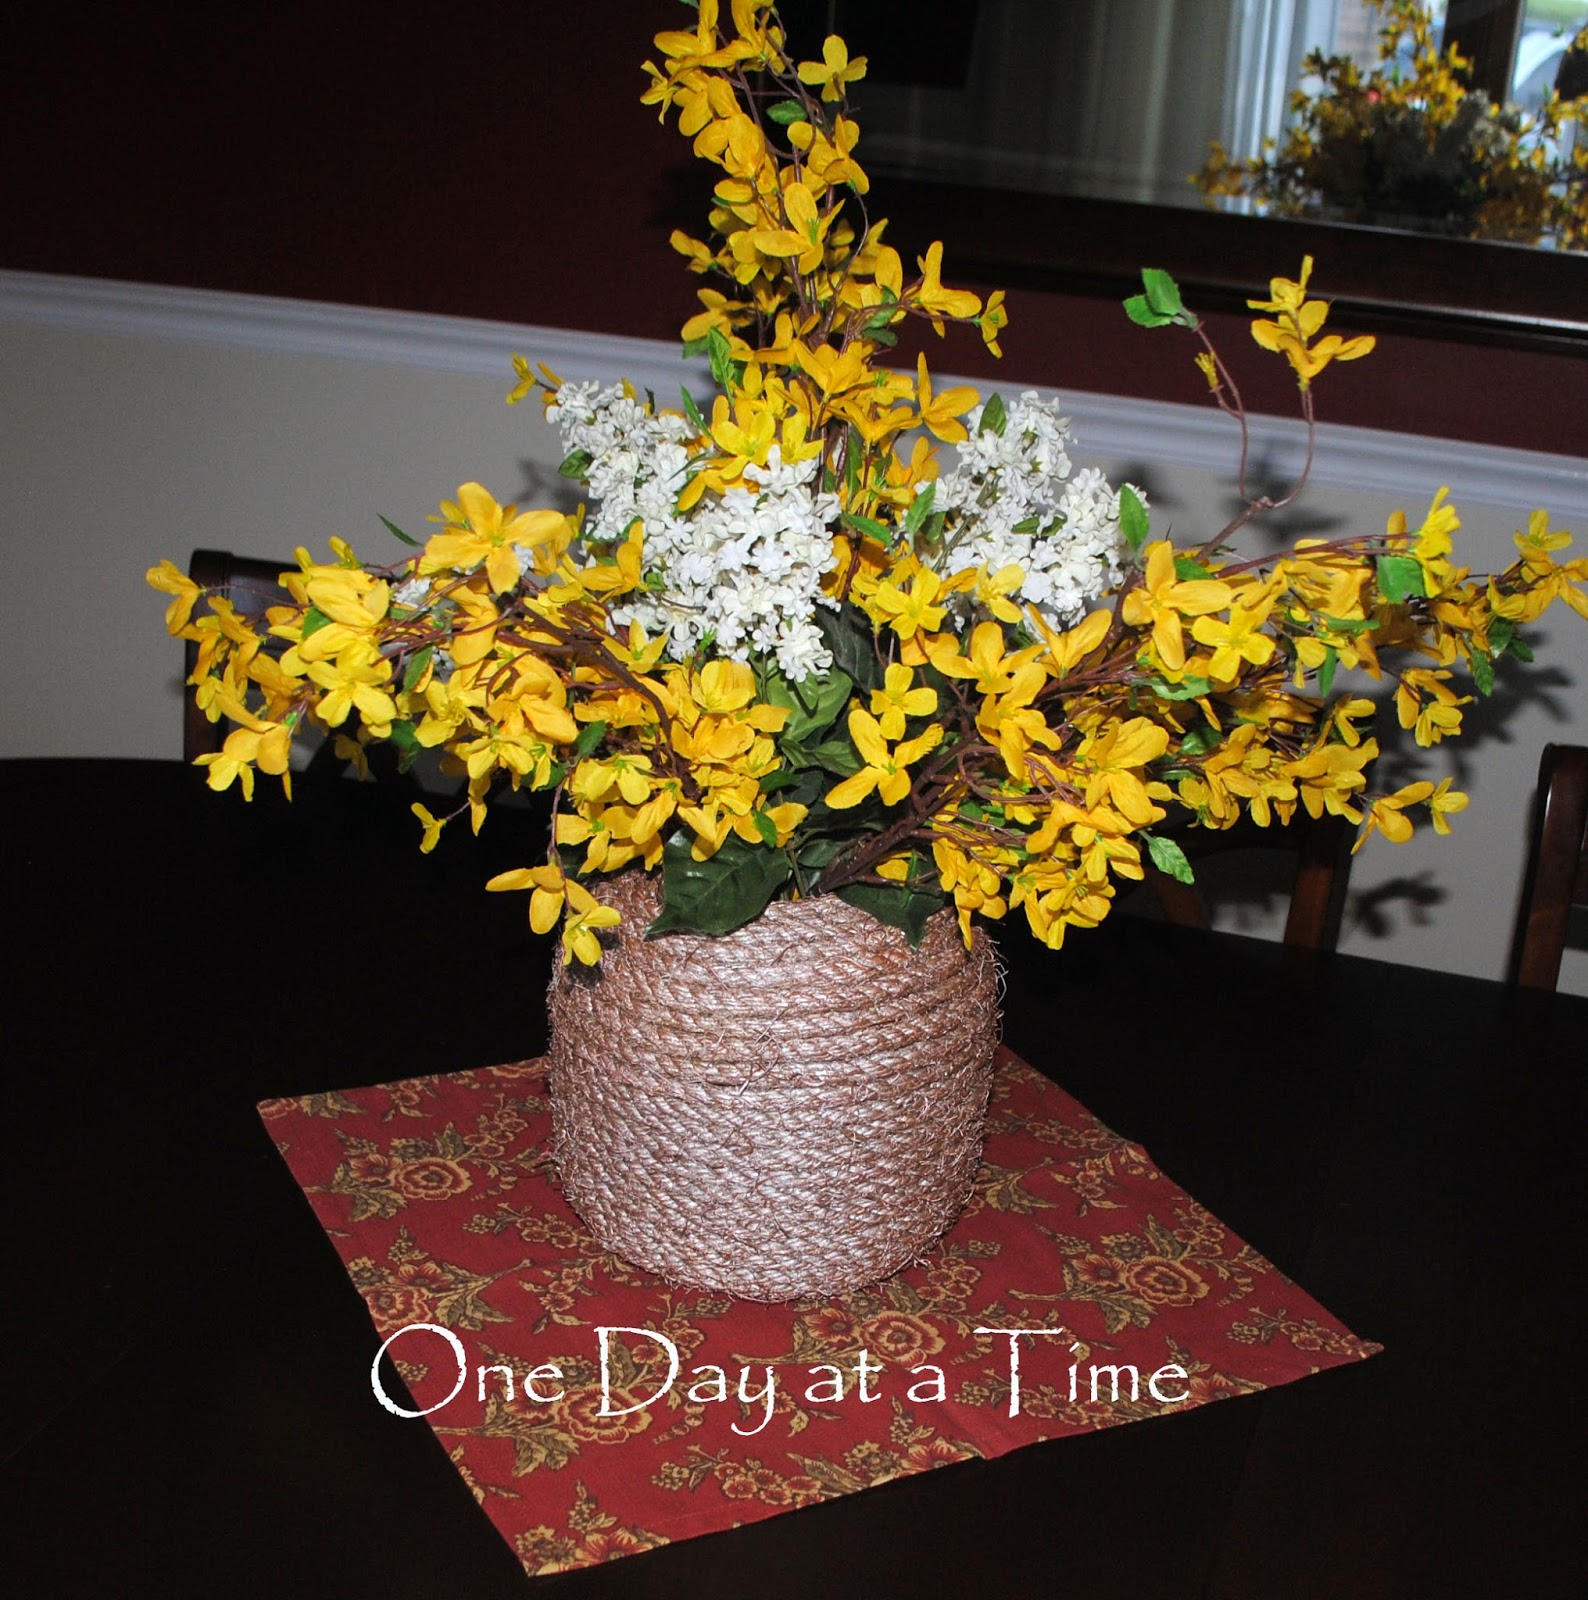
The Golden Rope Vase


I love love love anything with rope. It reminds me of all things water; boats, the beach, the ocean. I have already done a few projects using rope (here) and (here) but I just couldn’t resist doing another. I think it was the shape of the vase that inspired me. Regardless I love the finished product and its new home on my dining room table. Enjoy.


I found the vase at a local thrift store for $6. Love the shape but the peach color..not so much.


 Other Supplies:

ROPE 
Twisted Sisal


Spray Glue


Gold Spray Paint
Rust-Oleum 11 Oz. Gold Rush Flat Spray Paint


I sprayed the vase with the spray glue, wrapped it with the rope
 and spray painted with the gold spray paint. 
Easy Peasy!


Sorry...I forgot to take pictures of the spray painting process but I bet you can figure that out LOL!


Thanks for visiting,


UPDATE - AUGUST 7, 2013 
THIS PROJECT WAS FEATURED!!!