Tuesday, May 7, 2013

Bratwurst Sauerkraut Crockpot Dinner

I found another really good recipe that I want to share. Like my post last week, this recipe came from Taste of Home. It was submitted by Ann Christensen of Mesa Arizona. I made this on a weekend because it only requires 4 to 5 hours of cooking time, (I work during the week and am out of the house over 8 hours). It ended up taking 5 hours for the potatoes to cook completely but the bratwurst was done after about 4 hours. Also, I am not a big fan of sauerkraut but this tasted great. I assume it was because, as the directions instructed, I rinsed and drained it. I highly recommend you give this a try…I don’t think you will be sorry. 
 
    • 1 jar (32 ounces) sauerkraut, rinsed and well drained
    • 2 medium red potatoes, peeled, halved and cut into thin slices
    • 1 medium tart apples, peeled and cut into thick slices
    • 1 small onion, chopped
    • ½ cup apple juice
    • ¼ cup water
    • 2 tablespoons brown sugar
    • 1 teaspoon chicken bouillon granules
    • 1 teaspoon caraway seeds
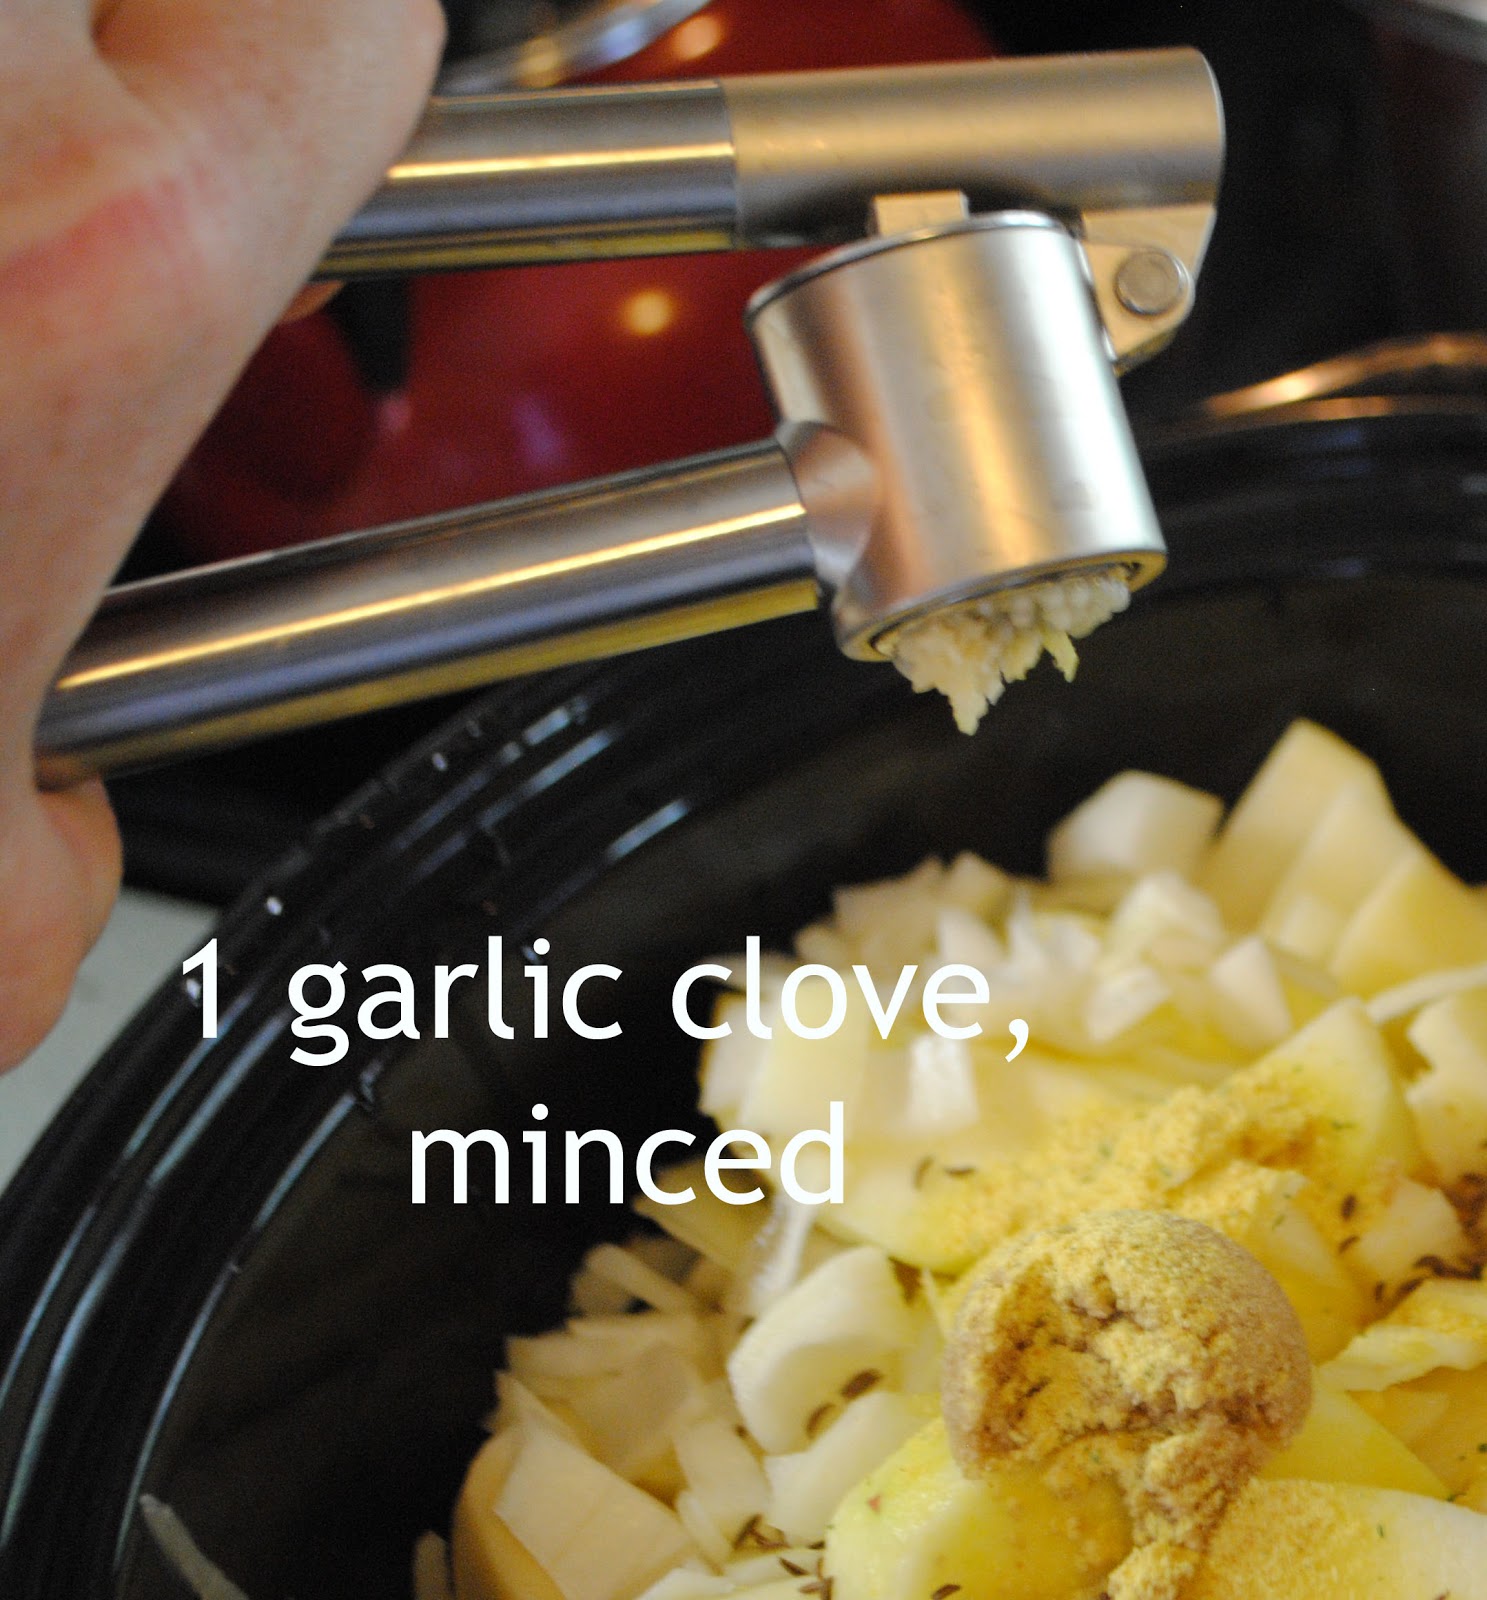
    • 1 garlic clove, minced
    • 1 bay leaf
    • 1 lb. fully cooked bratwurst links
    • Bacon, crumbled
In a slow cooker, combine the first 11 ingredients. Top with bratwurst. Cover and cook on high for 4 to 5 hours or until potatoes are tender. Discard bay leaf. Sprinkle with bacon.


water and apple juice not shown


Thanks for visiting,

Monday, May 6, 2013

Red, White, and Blue Wreath

I just love this time of the year when spring is in full bloom. Every year we host a Memorial Day Cookout called "Grillin N' Chillin. I can't believe that Memorial Day weekend is just a few short weeks away. In preparation for the event, we decorate in the red, white, & blue theme and this year won't be any different. I try to recycle leftover decor from the years past but one item that has been missing is a wreath for the front and back doors. This past weekend I set aside enough time to put together the wreath for the front door. Unfortunately I didn't have the time to do a tutorial, so if you have any questions just ask and as always...Enjoy!


Supplies used; Styrofoam Wreath Ring, Denim Duct Tape, Silk flowers, Wooden Stars, Sharpies in Dk. Blue, Red, Tan, Gold. Flag Bandana, Ribbon, Wooden Star Decoration (prepainted), Hot glue gun/glue.


Thanks for visiting,

Saturday, May 4, 2013

Faux Stainless Steel Dishwasher UPDATE

Eight months ago I did a dishwasher make-over. 


I have to be honest, I was not sure it would hold the test of time but I am here today to tell you that it did. I have had no problems with the pained top portion or the faux film on the bottom. I recommend this product (as long as you follow the directions to the T). 

Thanks for visiting,


Friday, May 3, 2013

Geranium Dress-up

With mother's day coming I was trying to find something unique to give my mom. She loves geraniums but they always come in bland pots. I wanted to dress one up and came up with a project that could also be done by kids. Enjoy!


First choose a couple of colors of foam sheets.


Then measure the size of your pot.


Next, cut arches at the long side of two pieces.


Wrap one of the two cut pieces around the pot and secure with tape.


Draw a line to mark the top of the pot. Also draw a straight line on the side. Cut out at marks.


Using a glue gun, glue on strips of a different color foam and attache all three pieces together.


Repeat the same process with the second piece so that both are attached in a circular way.
Now the fun part...Decorate!
This is where the kids can go crazy and embellish the cover any way they want. Glue pieces down with a glue gun. 
Note: I cut out the shapes before I glued the whole thing together.


Here it is before slipping it down over the pot. I added little hearts too but forgot to take another photo.


Here it is after slipping over the pot.


Thanks for visiting,


Thursday, May 2, 2013

Wedding Crafts

Two and a half years ago I married my best friend. I had been a single mom for many years and one day I traveled out of town with friends and met my husband. He too was vacationing and lived just a few block from me in the city back home. Our paths had never crossed until that day. That was in June of 2008 and in November of 2010 we were married.

To save money I hand crafted almost every detail of the wedding and especially the reception. To be honest, if I had had a million dollar budget I would have still hand crafted because I just love to put my personal touch on everything. I had as much fun pulling it all together as I did on the actual day. Now don't get me wrong, marrying my husband was the best part but looking around on that day and seeing all the love I had put into that wedding made it even more special.


Here are a few of the hand crafted items I made for my wedding. Enjoy!


A. I found these little translucent bags and filled them with candy that was wrapped to match or theme and included or names and the wedding date. 

B. I designed the menus on my computer and printed them out on a 100# stock with color ink. The venue folded the napkins. 

C. I found these little gold boxes online, the ribbon at the fabric store and the stickers came from the company that printed the invitations. The boxes were filled with nuts.


Sequence glued to the bottom of my shoes.


The wedding program. Card stock, leaves left over from the table center piece, ribbon, scrap book paper, and lots and lots of rubber cement. Oh yea...and lots of hole punching and assembly. Many nights sitting in front of HGTV punching holes and assembling.


Guest gifts; Mason jars filled with a cornbread recipe, (recipe instructions were placed under the lid).


The centerpiece; Foam pumpkins glued on the top of gold candleholders filled with silk flowers and leaves. 

Note: sticking out from the arrangement I placed a card with the name of the table. Each table was named after a place we had visited during our courtship. This table was "San Antonio Texas". The photo at the base of the arrangement was taken while we were there.


Not a great picture but the little wagon held cards that had pre-printed questions for the quests to answer giving the bride and groom words of inspiration for a long loving marriage. After they were all collected they were placed in the album (shown) along with pictures taken by the guest with the disposable cameras on each table. One of my favorite memories. 

 The Cake; Yes, I made it
The leaves, acorns, and pumpkins were hand made in advance with gum paste.


Foam pumpkins from the craft store and a black magic marker.

Thanks for visiting,


Wednesday, May 1, 2013

Easy-To-Sew Skirt


It was a rainy Tuesday today. A good day to stay inside and work on projects. When I was in college I took mostly early classes that ended before noon. On days like today I would race home and spend the rest of the day sewing. I use to make a lot of my clothes and even worked part time in a fabric store one semester. Ahhhh, Such fond memories. 

Today I don’t do much sewing but I did find a great website that features pattern reviews and was convinced to pull out the sewing machine and make a work skirt. The directions were reasonable and even though I used a jersey material (not the easiest fabric to work with) this really was an “easy to sew” pattern and I love the final product.  Enjoy!


thanks for visiting, 
 PS - HERE is the Pattern Review website.